Understanding Plasma Cutter Settings – A Comprehensive Guide
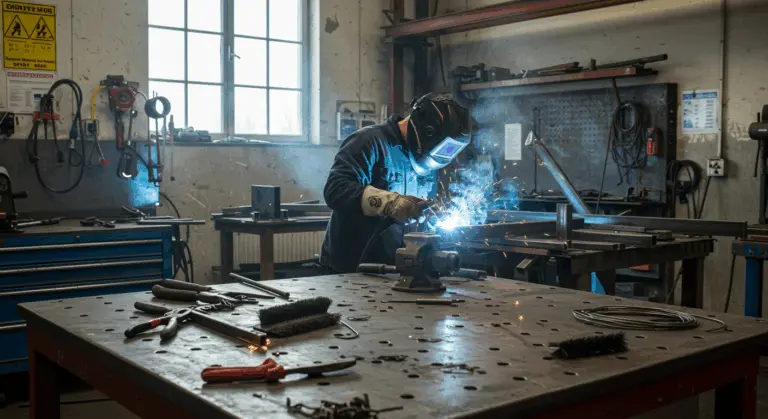
Mastering plasma cutter settings is the cornerstone of achieving precise, clean cuts. Three critical parameters demand your attention: amperage, air pressure, and cutting speed. Each must be carefully adjusted to match your specific material and thickness requirements.
When these parameters aren’t properly balanced, problems arise quickly. Poor cut quality emerges. Excessive dross—that stubborn molten metal buildup clinging to the cut’s bottom edge—becomes your unwelcome companion.
A properly configured plasma cutter delivers clean cuts while significantly extending consumable life—your electrodes and nozzles will thank you. This guide covers the essential settings needed for professional results, delivering professional results and maximizing equipment lifespan.
Amperage and Air Settings for Plasma Cutter CUT50
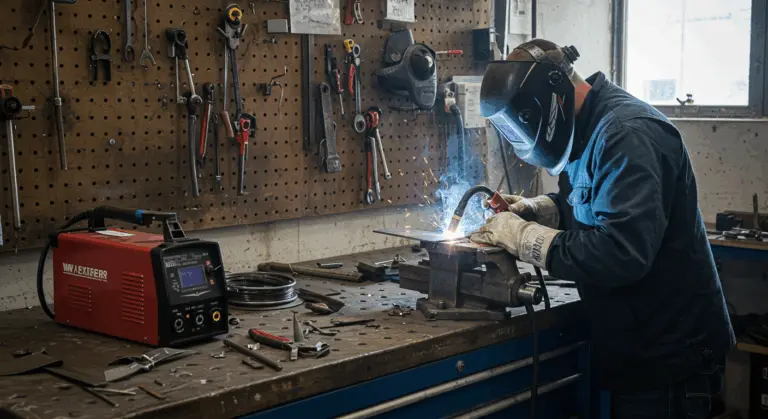
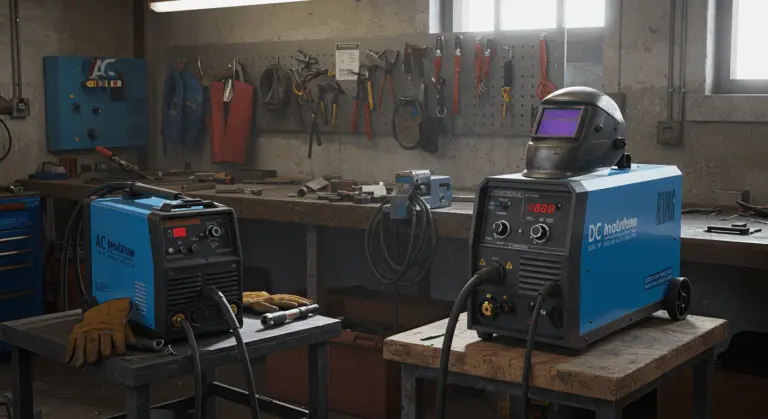
The CUT50 plasma cutter is a popular entry-level machine, yet it demands precise configuration of both amperage and air settings for peak performance. Find the black knob on top of the air pressure regulator and filter assembly—use this control to adjust compressed air flow rate.
Suggested Amperage Settings for Different Materials
A practical rule of thumb guides amperage selection: use approximately 1 amp per thousandth of an inch of material thickness. Cutting 1/8 inch (0.125 inch) material? Start with roughly 125 amps.
Material composition changes everything, even at identical thicknesses. Mild steel, stainless steel, and aluminum each possess unique thermal properties that significantly affect their response to plasma cutting.
Fine-tuning amperage settings requires hands-on experimentation through test cuts on scrap material matching your actual workpiece. During these trials, scrutinize the cut edge quality, dross formation levels, and cutting speed performance.
For specific materials, manufacturers often provide recommended amperage ranges. For a CUT50, typical starting points are:
-
1/4-inch mild steel: 45–50 amps
-
18-gauge sheet metal: 25–30 amps
Always consult your plasma cutter’s manual for material-specific recommendations.
Air Pressure Settings – Finding the Right Balance
Air pressure plays a crucial role in cut quality and consumable longevity. Too low, and your plasma arc struggles to fully penetrate the material, leaving behind rough, unsightly edges.
Two primary factors determine ideal air pressure: the cutting tip size installed in your torch and your material’s thickness. Most plasma cutters hit their sweet spot within 60 to 80 PSI for general applications.
Finding the right balance takes systematic testing. Start with manufacturer recommendations, then perform test cuts. Keep in mind that: air pressure, amperage, and cutting speed form an interconnected trinity—adjusting one inevitably requires recalibrating the others.
CUT50 plasma cutter users consistently report success with air pressure settings between 65-75 PSI when cutting mild steel up to 1/2 inch thick. Thinner materials benefit from slightly reduced pressure—around 60 PSI prevents excessive molten metal displacement that widens the kerf and compromises cut precision.
Cutting Speed and Quality – Key Factors in Plasma Cutting
Cutting speed greatly affects multiple critical factors: cut quality and heat-affected zone (HAZ) width, productivity rates, and heat input with its accompanying material distortion.
Several variables work together to determine ideal cutting speed: your cutting machine type (handheld versus CNC), plasma system power capabilities, process variables including gas type and pressure, plus material composition and ambient conditions.
Amperage settings and cutting speed form a powerful partnership that determines cutting effectiveness. The key is to use the maximum amperage your machine and consumables can safely handle for optimal speed benefits.
Determining ideal cutting speed for your application requires systematic testing. Begin with manufacturer recommendations, then perform test cuts while gradually adjusting speed.
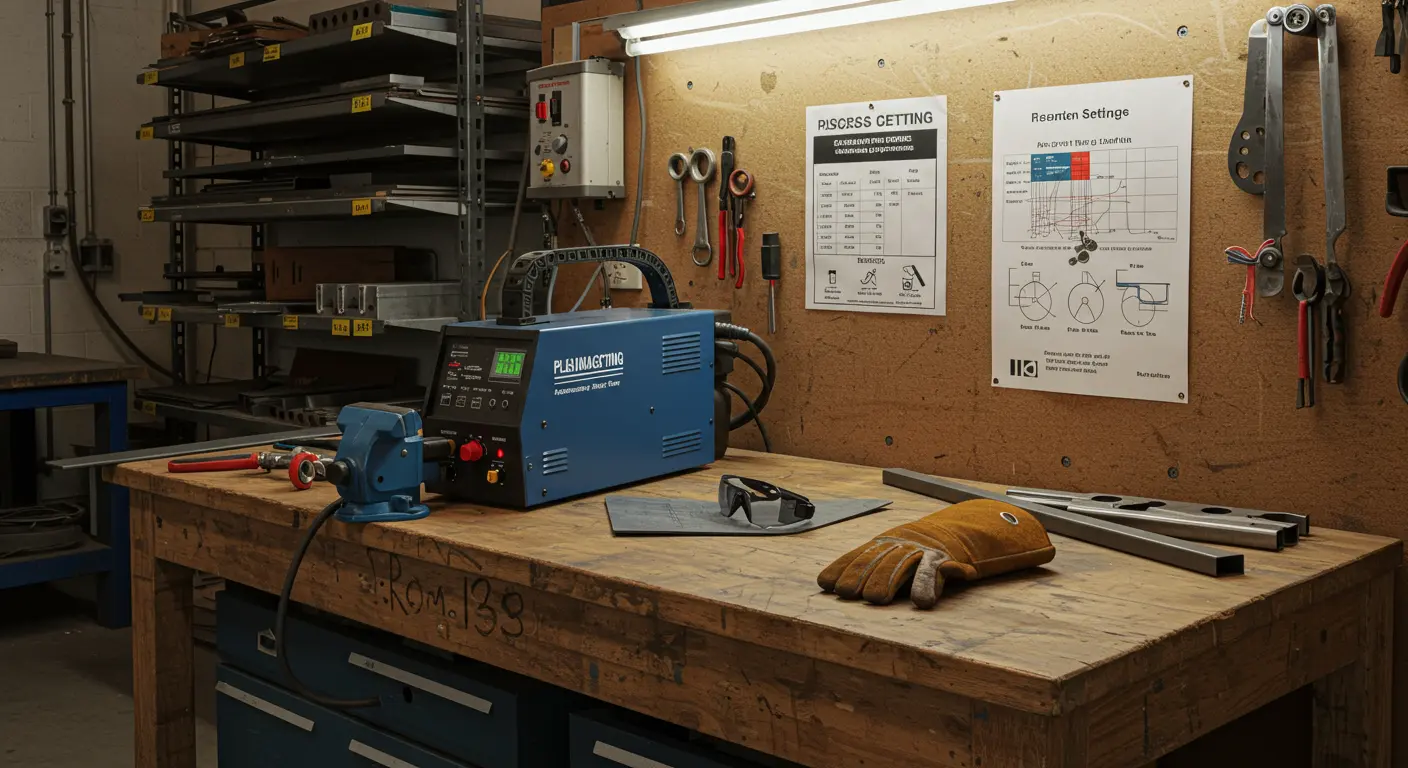
Pierce Height Recommendations for Optimal Performance
Pierce height—the critical distance between torch tip and material surface during initial piercing—significantly impacts both cut quality and consumable longevity. This setting is critical for successful plasma cutting.
For best results, set pierce height slightly above standard cutting height. This increased distance allows plasma arc dispersion before material contact, creating controlled piercing that minimizes molten metal splash-back onto torch consumables.
Material thickness dictates proper pierce height requirements. Thicker materials generate larger volumes of expelled molten metal during piercing, necessitating greater clearance.
Modern CNC plasma cutting systems automatically adjust pierce height based on programmed material thickness. Manual cutting or basic CNC systems require your personal attention to this parameter.
Kerf Width Adjustments – Minimizing Waste
Kerf width represents the material removed during cutting—essentially, your cut’s width. Understanding and compensating for kerf width is essential for achieving dimensional accuracy while minimizing material waste.
Programming cuts for precision-dimensioned parts needs kerf width compensation to adjust the cut path, accounting for expelled material during cutting. Without this compensation, finished parts emerge undersized by approximately the kerf width.
Multiple factors influence kerf width: amperage (higher settings produce wider serfs), cutting speed (faster speeds typically reduce kerf width), torch height distance from material, and consumable condition (worn parts affect kerf characteristics).
Most CNC plasma cutting software includes kerf compensation features that automatically adjust cut paths based on your input kerf width value. Manual cutting requires careful attention to kerf width through careful measuring and marking.
Plasma Cutting Material Types – Tailoring Your Settings
Different materials demand tailored approaches. Success requires adjusting parameters like gas type, pressure, torch distance, and speed based on material characteristics, as detailed below.
Always consult your plasma cutter’s manual for material-specific recommendations—different machines have different optimal settings. Creating a reference chart for your specific equipment with settings for various materials and thicknesses ensures consistent, high-quality cuts across all plasma cutting operations.
Achieving high-quality plasma cuts requires attention to several key factors and proven best practices: