Understanding Aluminum Welding – Key Challenges
Welding aluminum presents distinct challenges that set it apart from working with other metals:
-
High Thermal Conductivity: Aluminum conducts heat away roughly five times faster than steel. This rapid heat dissipation requires careful balance—achieving proper penetration without triggering burn-through or warping.
-
Natural Oxide Layer: A tenacious aluminum oxide film blankets the surface, which has a much higher melting point (approx. 3,700°F) than the base metal (1,221°F). Breaking through this barrier is essential for achieving solid fusion.
-
Narrow Working Temperature Range: Low melting point meets high thermal conductivity, creating an unforgiving sweet spot. Too little heat? No penetration. Too much? Disaster.
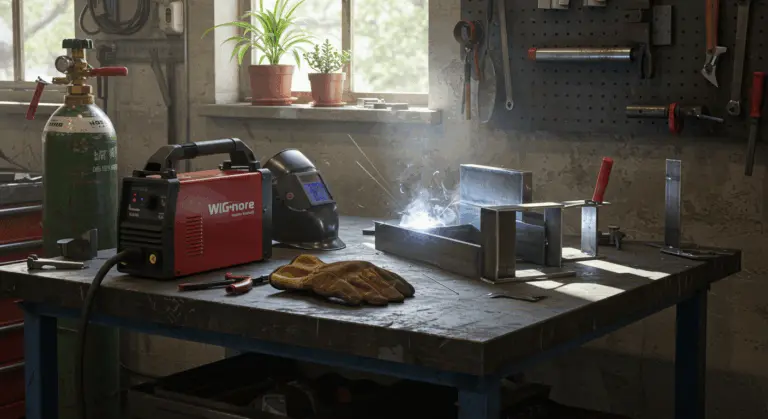
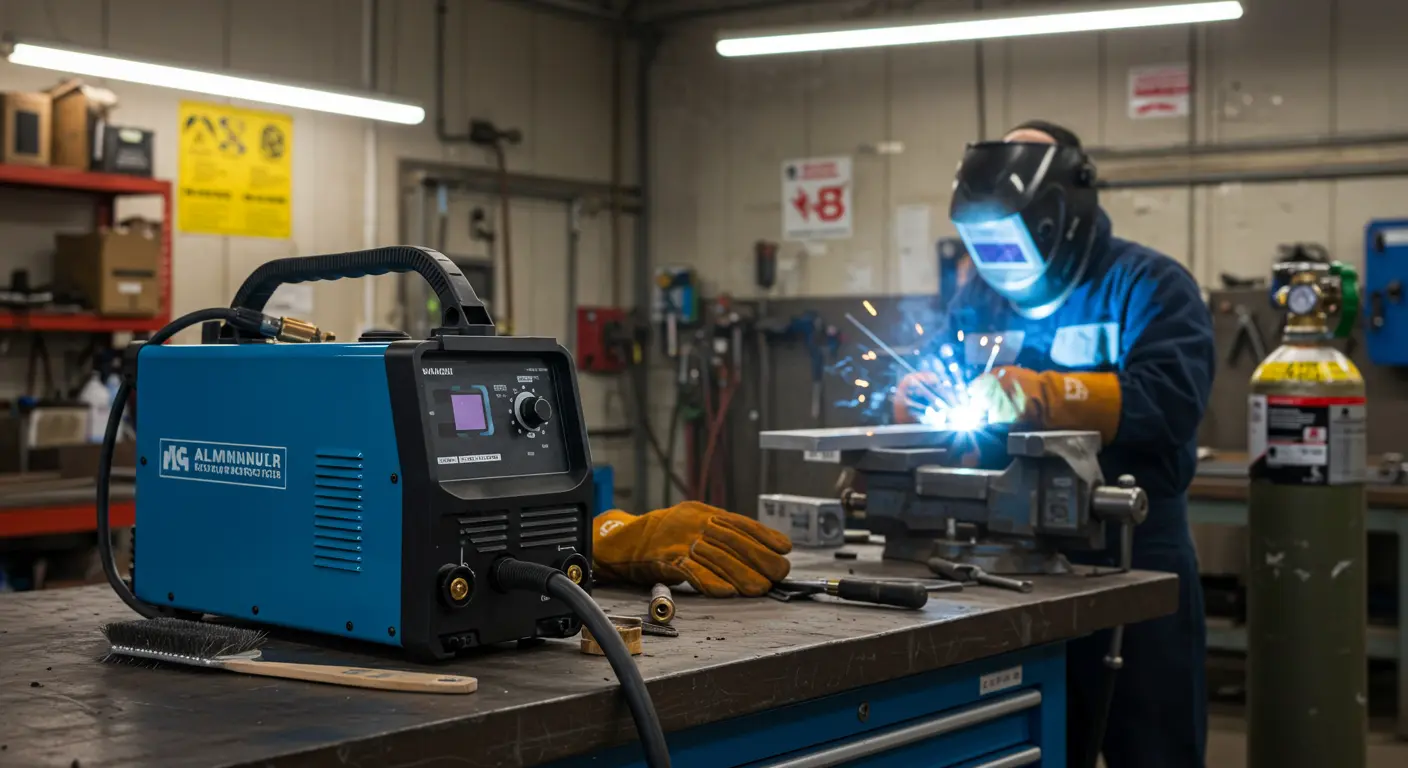
Essential Equipment for MIG Welding Aluminum
Successfully MIG welding aluminum demands specialized equipment designed for the task:
-
Capable MIG Welder: Your machine needs robust amperage, DEEP (Direct Current Electrode Positive) polarity, and ideally, pulsed MIG capability to control heat input.
-
Spool Gun or Push/Pull System: These are essentially required. Standard wire feeding systems struggle with aluminum’s softness, leading to frustrating tangles and jams.
-
Specialized Consumables: Without a spool gun? You’ll need Teflon liners and U-groove drive rollers—standard components will crush that delicate aluminum wire.
-
High-Purity Argon: 100% pure argon (99.995% or higher) is necessary for shielding, unlike the gas mixtures often used for steel.
Here’s the reality: Those budget MIG welders from big-box stores? They’re typically inadequate for aluminum without major modifications and additional equipment.
Choosing the Right MIG Welder
When selecting a MIG welder for aluminum, these factors will make or break your success:
-
Power Capacity: Aluminum is power-hungry—more so than equivalent steel thickness. Target at least 200 amps with a robust duty cycle rating.
-
Synergic Control: These intelligent machines automatically dial in parameters based on your material and thickness. Significantly improves ease of use.
-
Pulse Capability: Pulsed MIG provides precise control over heat input. Essential for avoiding burn-through on delicate aluminum sections.
-
Aluminum Wire Feed System: The welder must support a spool gun or push/pull system, or be upgradable with these accessories.
-
Connection Types & Features: Euro-style torch connections provide more options. Bonus points for adjustable inductance and soft-start capabilities.
-
Manufacturer Support: Ensure easy access to aluminum-specific consumables like contact tips, liners, and drive rollers.
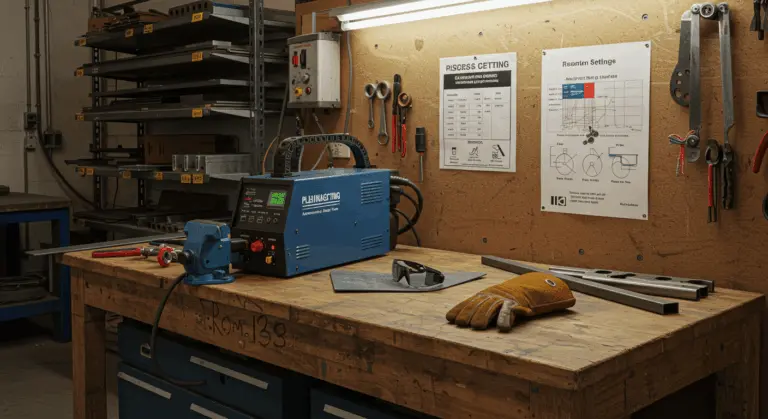
Setting Up Your MIG Welder for Aluminum
Properly configuring your MIG welder for aluminum forms the foundation of successful welding. Here’s your step-by-step approach:
-
Install Correct Wire Feed Components: Standard gun users must swap steel liners for Teflon versions and install U-groove drive rollers. Keep tension gentle—aluminum wire crushes easily.
-
Select the Right Contact Tip: Choose a tip slightly larger than the wire diameter (e.g., a 0.040” tip for 0.035” wire) to prevent binding from thermal expansion.
-
Set Polarity to DEEP: Direct Current Electrode Positive is essential for the cleaning action needed to break through the oxide layer.
-
Configure Shielding Gas: Hook up that 100% argon cylinder and dial in 20-30 CFH flow rate.
-
Adjust Initial Settings: As a starting point for 1/8” aluminum with 0.035” wire, try 300–350 inches per minute (IPM) wire feed speed and 18–20 volts.
-
Install Spool Gun (if applicable): Follow the manufacturer’s instructions for connecting the gun and loading the wire.
-
Perform Test Welds: Never skip this step. Fine-tune everything on identical scrap material before touching your actual workpiece.
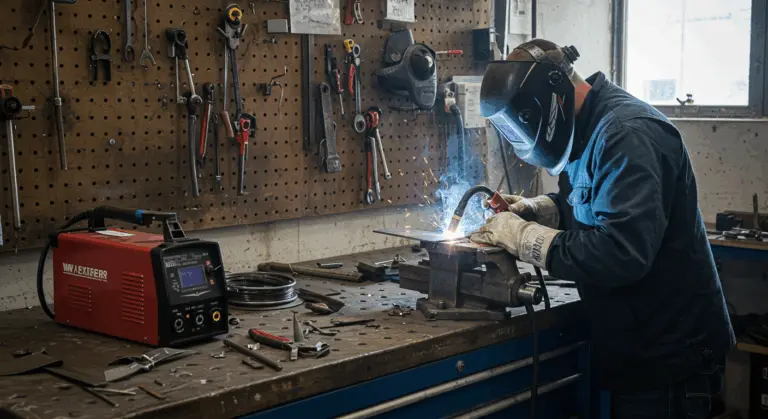
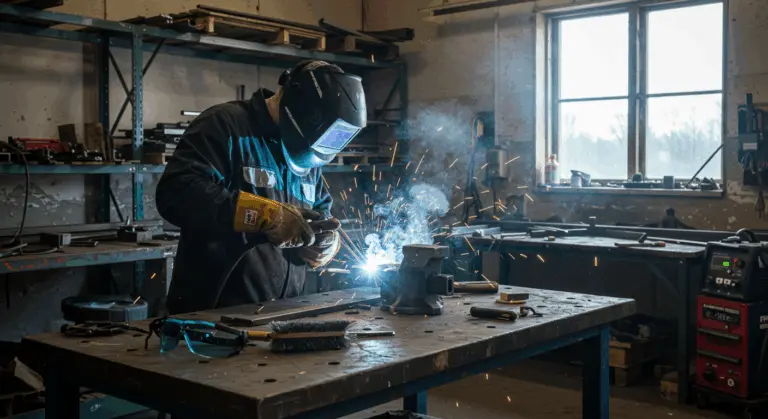
Welding Techniques for Aluminum with MIG
Proper technique makes all the difference. Master these fundamentals for consistently strong, clean aluminum welds:
-
Material Preparation: Remove the oxide layer with a dedicated stainless steel brush immediately before welding. This timing is critical—oxide reforms within minutes.
-
Use a Push Technique: Maintain a 10-15° push angle away from your weld puddle. This optimizes both gas coverage and your line of sight.
-
Control Travel Speed: Find the right balance—fast enough to prevent burn-through, slow enough for proper penetration. Target a bead width roughly 1.5 times your material thickness.
-
Consider a Weave Motion: For material thicker than 1/8 inch, a slight side-to-side weave helps manage the weld puddle and ensure fusion.
-
Monitor the Weld Puddle: Your puddle should gleam bright and silvery, flowing like liquid mercury. Dull or grainy? You’ve got contamination or settings issues.
-
Prevent Crater Cracks: As you finish, slow your travel or back-step over the final bead section. Fill that crater before killing the arc.
Skill develops through practice. Yes, aluminum welding is initially more challenging than steel work, but applying these techniques consistently will greatly improve your results.
Using a Spool Gun for Aluminum Welding
A spool gun is one of the most effective tools for MIG welding aluminum, directly tackling the notorious challenge of feeding soft wire.
It works by eliminating ‘bird-nesting’ and erratic feeding by mounting the wire spool directly on the gun. The wire travels mere inches instead of several feet.
-
Setup: Verify welder compatibility, connect to the designated port, and activate your machine’s spool gun mode.
-
Technique: Stick with that 10-15° push angle while maintaining consistent standoff distance. Adapt to the gun’s altered weight distribution and balance.
-
Tension: Dial in just enough tension for smooth feeding—any more risks crushing that delicate aluminum wire.
Spool guns excel for occasional projects or when frequently switching between materials. High-volume production work? A push-pull system might offer superior ergonomics.
Remember: while a spool gun solves wire feeding headaches, it doesn’t eliminate the need for proper welder settings and solid technique.
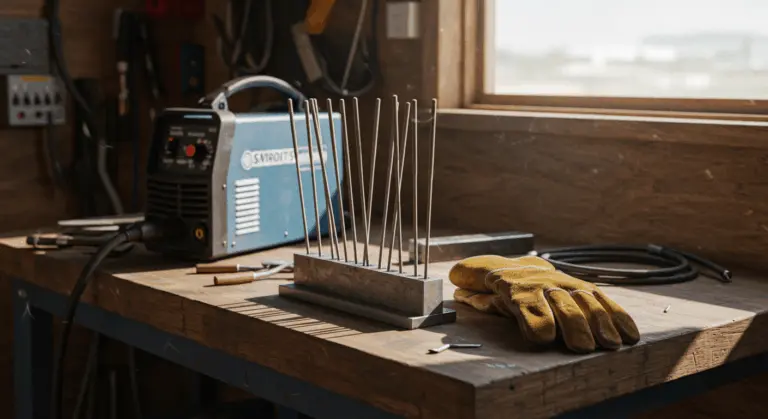
Selecting Filler Materials for Aluminum Welding
Selecting the right filler alloy is absolutely critical. The wrong choice can compromise strength, invite corrosion, or trigger cracking.
| Filler Alloy | Key Characteristics | Best For |
|—|—|—|
| ER4043 | Excellent fluidity, smoother welds, less spatter, less prone to hot cracking. | Welding 6xxx series alloys, general fabrication, automotive applications. Easier for beginners. |
| ER5356 | Higher strength, better color match after anodizing, superior corrosion resistance. | Welding 5xxx series alloys, marine applications, and situations requiring maximum weld strength. |
Specialized alloys like ER1100 for pure aluminum and ER4047 for automotive applications exist, though some high-strength scenarios demand TIG welding instead.
Wire diameter choices typically boil down to 0.035″ (0.9mm) or 0.045″ (1.2mm). Material thickness drives the decision.
Proper storage is important. Keep filler wire sealed and dry—moisture contamination creates porosity and other weld defects that compromise weld quality.
Shielding Gas – The Key to Successful Aluminum Welds
Shielding gas protects your molten weld against atmospheric contamination. Aluminum welding has non-negotiable gas requirements:
-
Gas Type: Use 100% pure argon (99.995% purity minimum). Argon/CO2 mixtures used for steel won’t work.
-
Flow Rate: Dial in 20-30 CFH for typical indoor work. Drafty conditions? Bump it up slightly, but excessive flow creates turbulence—counterproductive.
-
Delivery System: Check every connection for leaks. Even tiny leaks invite contamination.
-
Pre-flow and Post-flow: Shield the area with 0.5-1 second pre-flow before arc initiation, then protect the cooling weld with 1-2 seconds post-flow.
Helium-argon mixtures can boost penetration on thick sections, but they’re typically overkill and cost-prohibitive for most applications.
Effective gas coverage also hinges on proper gun angle and maintaining the optimal 1/2 to 3/4 inch contact-tip-to-work distance.
Common Weld Quality Issues in Aluminum Welding
Spotting common weld defects helps with troubleshooting and elevating your results:
-
Porosity: These small holes typically stem from gas contamination—inadequate cleaning, moisture, or wonky gas flow.
-
Lack of Fusion: When your weld refuses to bond with the base metal. Culprits? Insufficient heat, sloppy oxide layer cleaning, or flawed technique.
-
Hot Cracking: These cooling-induced cracks often trace back to mismatched filler metal selection.
-
Burn-through: Unwanted holes punched through your base material. Too much voltage or sluggish travel speed are the usual suspects.
-
Wire Feeding Issues: Erratic wire delivery from incorrect drive roll tension, worn liners, or mismatched contact tip sizing.
-
Oxide Inclusion: That stubborn oxide layer gets trapped in your weld, creating weak points. Prevention? Thorough, immediate pre-weld cleaning.
Visual inspection catches most issues, but critical applications may demand methods like dye penetrant testing to guarantee weld integrity.
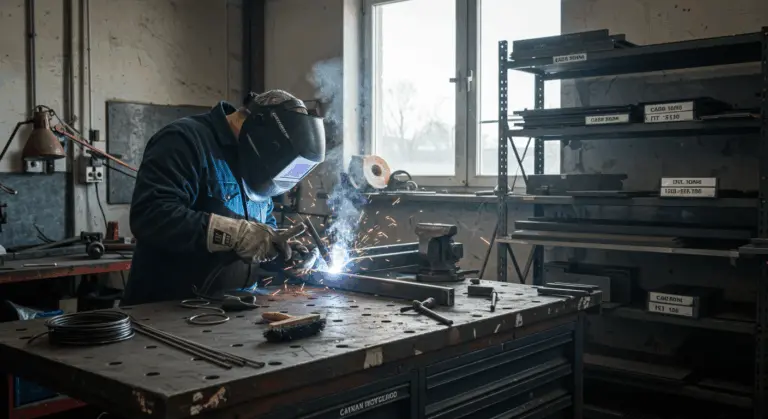
Safety Considerations When Welding Aluminum
Aluminum welding introduces unique safety risks that extend beyond standard welding hazards:
-
Respiratory Protection: Aluminum welding spews harmful oxide particles. NOSH-approved respirator plus proper ventilation or fume extraction—non-negotiable.
-
Eye & Skin Protection: Aluminum’s reflective nature amplifies UV radiation. Step up to shade #11 or #12 helmets and cover every inch of skin.
-
Fire Prevention: Expect hotter, more aggressive sparks. Clear all combustibles from your workspace and keep a Class D extinguisher within reach.
-
Electrical Safety: Aluminum’s exceptional conductivity demands meticulous grounding of both welder and workpiece. Keep everything dry.
-
Heat Management: Deceptive danger—aluminum stays burn-hot while looking cool. Allow generous cooling time before handling.
-
Coating Hazards: Strip all paint and coatings pre-weld. Heated coatings release toxic fumes you don’t want to breathe.
These safety precautions are essential requirements of responsible aluminum welding practice.