Understanding the TIG Rig Components
Mastering the components of a TIG (Tungsten Inert Gas) welding rig is fundamental of successful setup. A TIG rig combines several critical elements that work together to deliver precise, pristine welds. Understanding with each component’s role is essential for proper assembly and swift troubleshooting when issues arise.
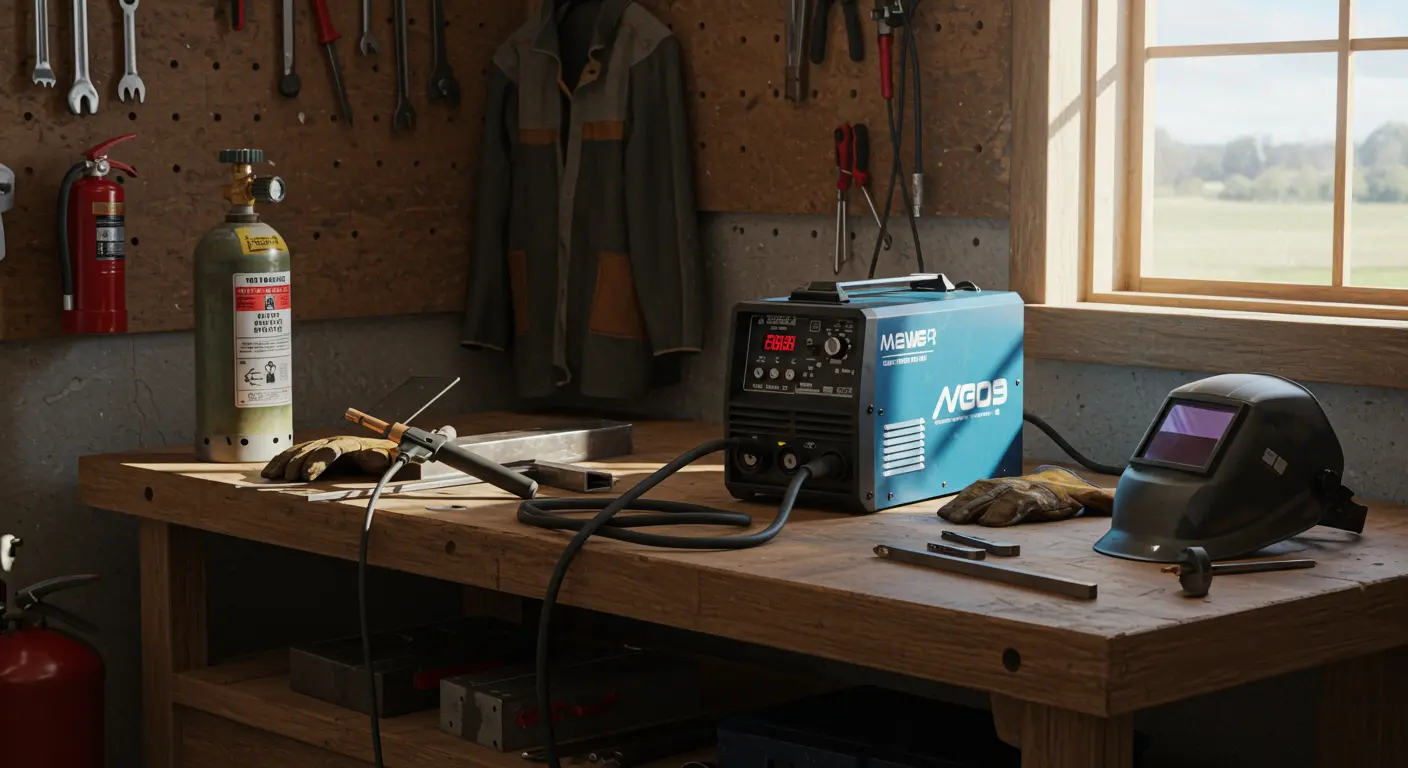
At the heart of every TIG rig lie four essential components:
-
TIG Torch: Delivers the electric arc and shielding gas to the weld area.
-
Shielding Gas: Protects the weld pool from atmospheric contamination, with argon being the most common.
-
Filler Metal: A wire used to add material to the weld joint when needed.
-
Welder Unit: The power source that supplies and controls the electrical current.
Proper assembly of these elements determines both weld integrity and operator safety.
Key Components of a TIG Rig
The TIG torch serves as your primary instrument, channeling both the welding arc and protective shielding gas to the work zone. Within its compact design lie several components demanding precise assembly:
The tungsten electrode is a critical, non-consumable element that channels electrical current to generate the arc. Meanwhile, the welder unit acts as your power control center, governing current flow while offering tailored settings for diverse materials and thicknesses.
The shielding gas system—encompassing cylinder, regulator, and connecting hoses—delivers protective atmosphere to your torch. Pure argon is the standard choice for most applications, though helium or specialized argon-helium blends serve specific requirements.
Safety Equipment for TIG Welding
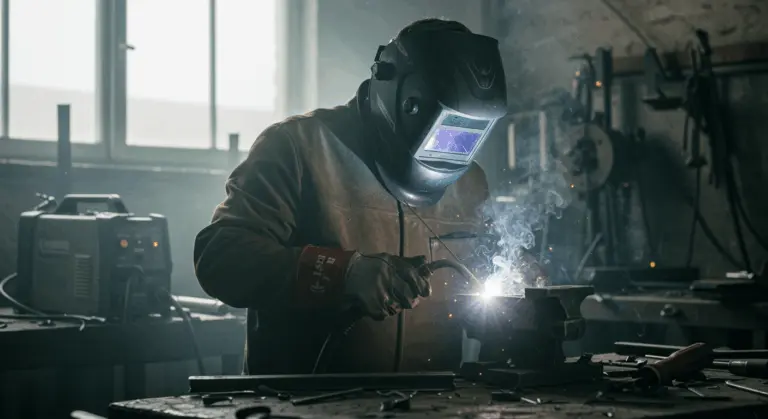
TIG welding generates high temperatures and electrical currents, creating serious safety risks. Safety equipment is not optional—it’s required. The brilliant arc radiates intense ultraviolet (UV) and infrared (IR) energy capable of inflicting severe eye and skin damage within seconds.
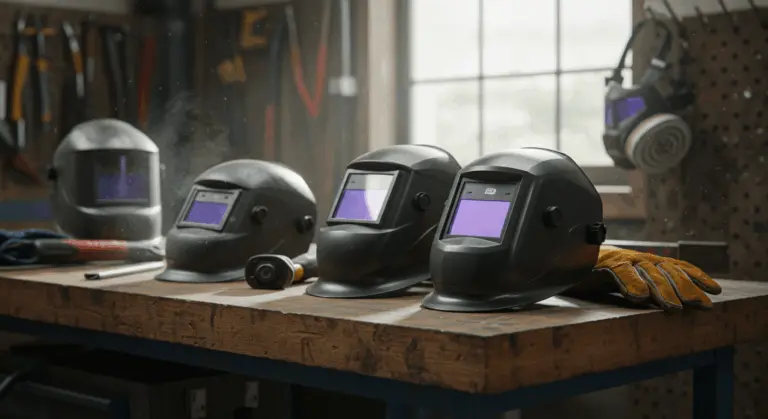
Your primary defense includes an auto-darkening helmet specifically rated for TIG welding, designed with sensitivity to activate at minimal amperages (as low as 5 amps) preventing dangerous arc flash. Because TIG welding requires precision, invest in quality goatskin gloves—they deliver superior heat protection while preserving the dexterity essential for intricate work.
Your safety arsenal must also include:
-
Flame-Resistant Clothing: A welding jacket and pants protect your body from heat and radiation.
-
Leather Boots: Shield your feet from hot metal.
-
Safety Glasses: Wear glasses with side shields under your helmet for crucial eye protection.
-
Respirator: May be necessary for extended sessions or when welding materials that produce harmful fumes.
-
Ear Protection: Recommended for noisy environments.
-
Dry Workspace: Always ensure the work area is dry to prevent the increased risk of electrical shock.
Setting Up Your TIG Rig for the First Time
Setting up a TIG rig may seem complex at first, but becomes straightforward when approached systematically. This guide walks you through initial equipment configuration, ensuring safe and effective welding from your very first strike.
Begin by unpacking all components and creating a clean, dry, well-ventilated workspace. Arrange your TIG welder, torch, gas cylinder with regulator, ground clamp, and complete safety gear within easy reach. Keep your machine’s manual close at hand—it’s helpful for beginners working through their first setup.
Assembling the TIG Torch
Proper torch assembly affects welding performance. Start by threading the collet body snugly into the torch head—firm but not overtightened. Insert the appropriately sized collet into the collet body; the diameter must match your tungsten. Loosely thread the back cap, preparing for electrode insertion.
Guide the tungsten electrode through the torch’s rear opening, threading it through the collet. Choose your ceramic cup carefully—larger cups offer better gas coverage for high-amperage operations, while compact cups improve visibility for detailed work. Secure the cup firmly over the collet assembly.
Fine-tune your tungsten stick out—the extension beyond the ceramic cup—to approximately 1/8 to 1/4 inch (3-6mm). Once positioned correctly, tighten the back cap to lock the electrode securely.
Configuring Welding Settings
Configuring your welder properly affects weld quality. Critical settings begin with polarity selection, which depends on material:
Amperage selection depends on material type and thickness—a reliable starting point suggests 1 amp per 0.001 inch of steel thickness. Modern welders often feature helpful preset programs that simplify setup.
Aluminum welding with AC demands additional fine-tuning of frequency and balance settings:
TIG Rig Setup for Industrial Applications
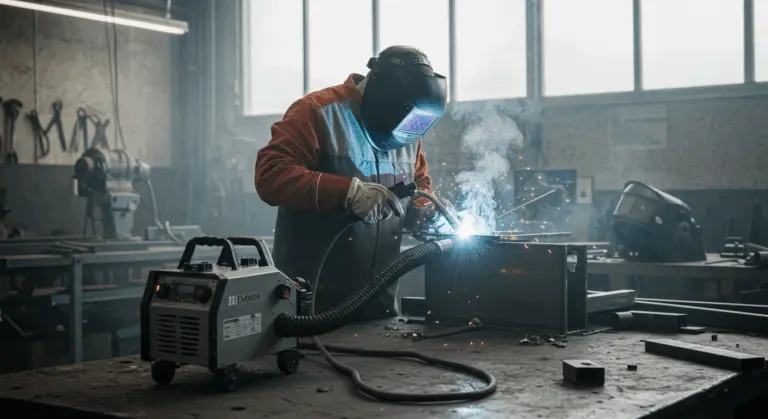
Industrial TIG welding requires more robust and adaptable setups than hobbyist configurations. Important factors include workspace dimensions, production volume, and material specifications—often involving challenging weld positions and strict quality standards.
Within industrial environments, rig layout is critical:
Selecting the Right TIG Rig
Choosing the optimal TIG rig for industrial applications requires careful evaluation. While beginners might succeed with budget-friendly options, industrial work needs reliable equipment. Investing in premium models provides good value through enhanced performance, consistent reliability, and extended service life.
When evaluating industrial TIG welders, consider these factors:
-
High Duty Cycle: Look for 60% or higher at maximum amperage to handle continuous work.
-
Advanced Features: Programmable memory, pulse capabilities, and remote amperage control enhance efficiency and precision.
-
Power Requirements: Ensure your facility can support the welder’s electrical needs, including potential three-phase power.
-
Portability: Choose between mobile carts and fixed stations based on your workspace.
-
Manufacturer Support: A strong service network and parts availability are critical to minimize costly downtime.
Conclusion and Additional Resources
Mastering TIG rig setup is the foundation of welding success, whether you’re a passionate hobbyist or seasoned professional. By understanding each component’s role and carefully following assembly and configuration protocols, you’ll achieve safe, effective welding from day one. Remember—proper setup encompasses physical assembly, machine calibration, and strong commitment to safety protocols.
With your rig properly configured, dedicate time to practice on scrap metal before attempting actual projects. Start with simple, straight beads at moderate amperage—this builds essential muscle memory and torch control. As confidence grows, try different settings and materials.
To learn faster, use these valuable resources:
-
Manufacturer Websites: Offer equipment-specific guides and troubleshooting information.
-
Online Forums and Communities: Provide valuable peer advice and solutions.
-
Video Tutorials: Visually demonstrate techniques that are difficult to convey in text.
-
Local Welding Supply Shops: May offer workshops or recommend professional training.
Remember—Learning TIG welding takes dedicated practice and patience. Each weld is a chance to improve your skills.


