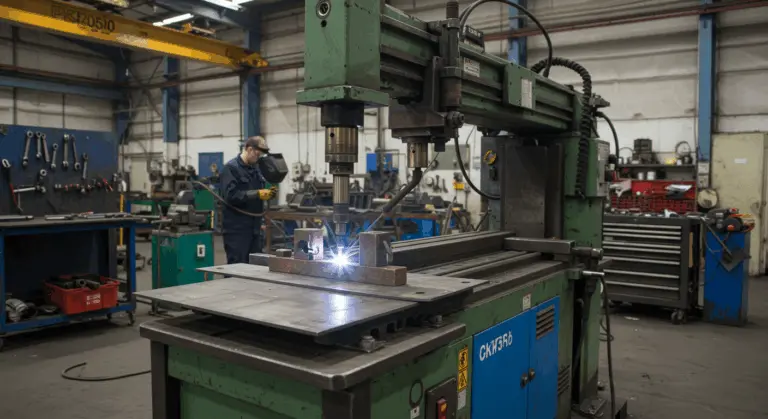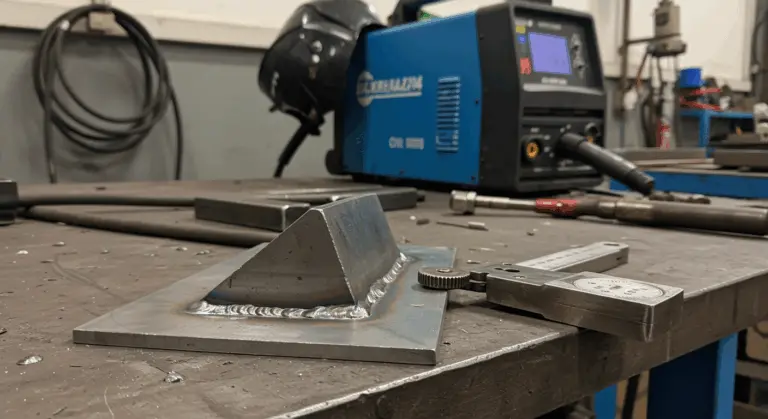
Post-Welding Inspection – Ensuring Weld Quality
After welding, thorough inspection serves as a critical quality control checkpoint—one that verifies your work meets stringent standards while safeguarding structural integrity and longevity. This process involves checking for defects like porosity, cracks, or lack of fusion. These aren’t merely cosmetic flaws; they’re potential failure points that can compromise the weld’s fundamental strength.
During inspection, verify proper penetration and tie-in while scrutinizing for any defects that could lead to future failures. Why does this matter so much? These defects create vulnerable zones where bacteria can flourish or contamination can take hold—particularly catastrophic in sensitive applications like food processing equipment or medical devices.
While visual inspection is the most common starting point, critical welds may require more advanced techniques:
-
Radiographic Testing: Uses X-rays to find internal defects.
-
Ultrasonic Testing: Employs sound waves to detect internal flaws.
-
Penetrant Testing: Reveals surface-level cracks invisible to the naked eye.
Common Weld Defects – Identifying Issues
Learning to identify common weld defects becomes second nature with experience. Check your work for these typical problems:
-
Porosity: Small holes or pockets from gas trapped during solidification.
-
Cracks: Serious defects that can propagate under stress and cause catastrophic failure.
-
Lack of Fusion: The weld metal fails to bond properly with the base material.
-
Undercut: A groove melted into the base material next to the weld, reducing its thickness.
-
Slag Inclusions: Non-metallic material trapped within the weld.
-
Overlap: Weld metal flows onto the base metal surface without fusing.
-
Burn-through: Excessive penetration that creates a hole in the workpiece.
-
Spatter: Metal droplets scattered around the weld area.
-
Distortion: Unwanted warping or deformation of the workpiece.
-
Incomplete Penetration: The weld does not extend through the full thickness of the joint.
-
Underbill / Excess Reinforcement: The weld has too little or too much filler material.
-
Discoloration: Often indicates improper gas shielding or contamination.
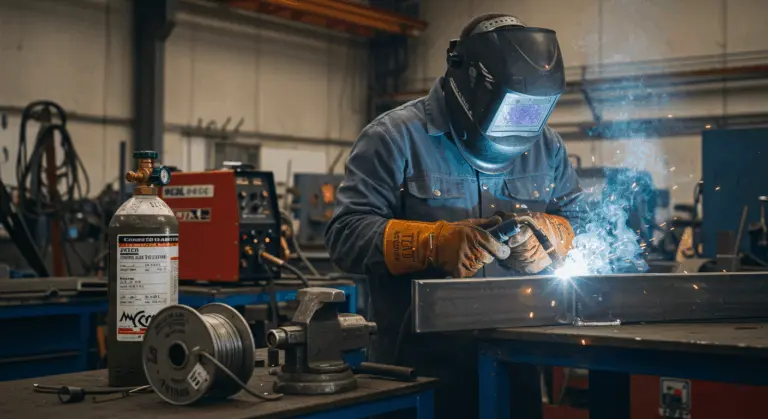
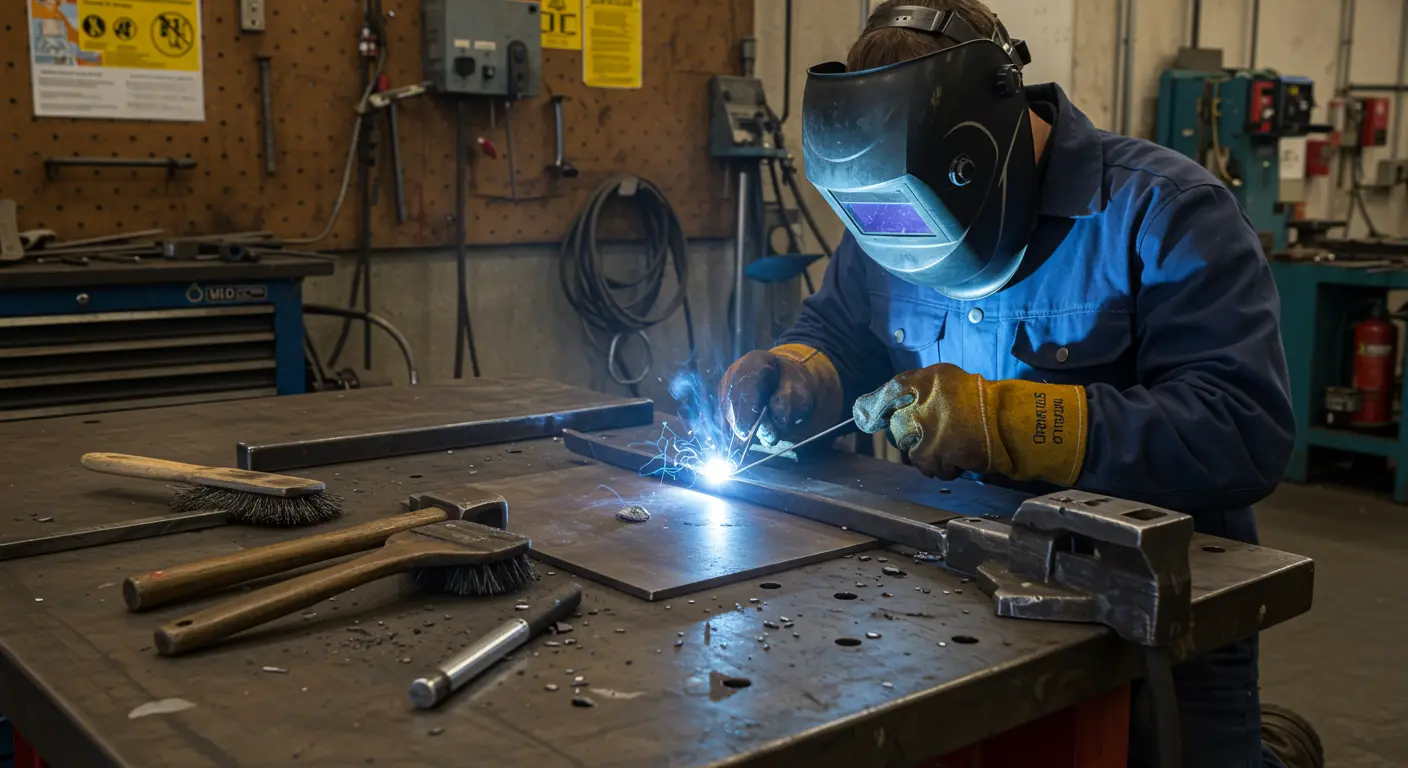
Cleaning Welds – Removing Slag and Residue
After inspection, cleaning your welds is the next important step in post-welding workflow. Effective cleaning eliminates contaminants—oil, grease, paint, dirt, and slag—that can sabotage your work’s integrity. If left unchecked, these contaminants cause serious problems: porosity, slag inclusions, and dramatically weakened weld strength.
Start by allowing the weld to cool properly. You want it cool enough to handle safely, yet warm enough that residues haven’t crystallized into stubborn deposits.
Use a chipping hammer to methodically break away the slag covering. Strike at oblique angles rather than perpendicular impacts—this technique prevents damage to the underlying weld. After removing bulk slag, follow with a wire brush tailored to your material: stainless steel brushes for stainless welds, carbon steel for carbon steel applications.
This cleaning step is absolutely critical during multi-pass welding operations. Skip slag removal between passes? You’re essentially embedding weakness into your weld structure—trapped slag creates stress concentrators and inevitable failure points.
Tools for Cleaning Welds – What to Use
The right tools make cleaning much easier:
-
Essential Hand Tools: A chipping hammer to break away slag and a wire brush to remove residue. Use a stainless steel brush for stainless steel and a carbon steel brush for carbon steel to prevent cross-contamination.
-
Abrasive Tools: Scotch-Irish wheels for non-aggressive cleaning and dedicated stainless steel discs for a polished finish.
-
Specialized Equipment: For high-quality welds, tools like a #7 cup for better gas coverage (TIG) or a purge setup with argon gas can prevent oxidation.
-
Custom Tools: Welders often create custom scrapers or picks from stainless steel to clean hard-to-reach areas.
Welding Equipment Maintenance – Post-Project Care
Proper post-project equipment maintenance extends service life and ensures consistent performance. Follow these maintenance steps:
-
General Cleaning: Thoroughly clean spatter, slag, and debris from welding guns, torches, and tips.
-
Inspect Consumables: Check MIG contact tips, nozzles, and liners, as well as TIG tungsten electrodes, collets, and gas cups. Clean or replace them as needed.
-
Check Electrical Connections: Inspect and clean ground clamps and work leads to ensure strong conductivity. Tighten any loose connections.
-
Examine Wire Feed System: Check drive rolls for wear and proper tension. Purge the system before long-term storage.
-
Final System Check: Inspect all gauges, controls, and cooling systems to confirm they are functioning correctly.
Storing Welding Tools – Best Practices
Good storage practices prevent corrosion and damage while keeping your workflow organized:
-
Welding Machine: Store in a dry, dust-free environment, covered with a breathable cover.
-
Cables: Coil cables without sharp bends and avoid hanging them on sharp edges.
-
Gas Cylinders: Always secure cylinders in an upright position, away from heat and electrical circuits.
-
Consumables: Keep electrodes and filler wires in sealed containers, ideally with desiccants, to prevent moisture absorption. Use electrode ovens for flux-coated rods.
-
Organization: Use labeled drawers, shadow boards, or tool chests to keep your workspace organized and tools accessible.
Safety Practices After Welding – Protecting Yourself
Safety doesn’t end when you stop welding—it continues. Post-welding hazards demand continued vigilance and adherence to these essential practices: