Introduction to DIY Self Filling Dog Water Bowl
A DIY self-filling dog water bowl represents a clever gravity-fed solution that maintains your pet’s hydration without the hassle of constant refilling. As your furry companion drinks, the system automatically refills the water supply, ensuring fresh water is always available. This innovation gives you peace of mind—particularly during hot summer days or those inevitable moments when life pulls you away from home.
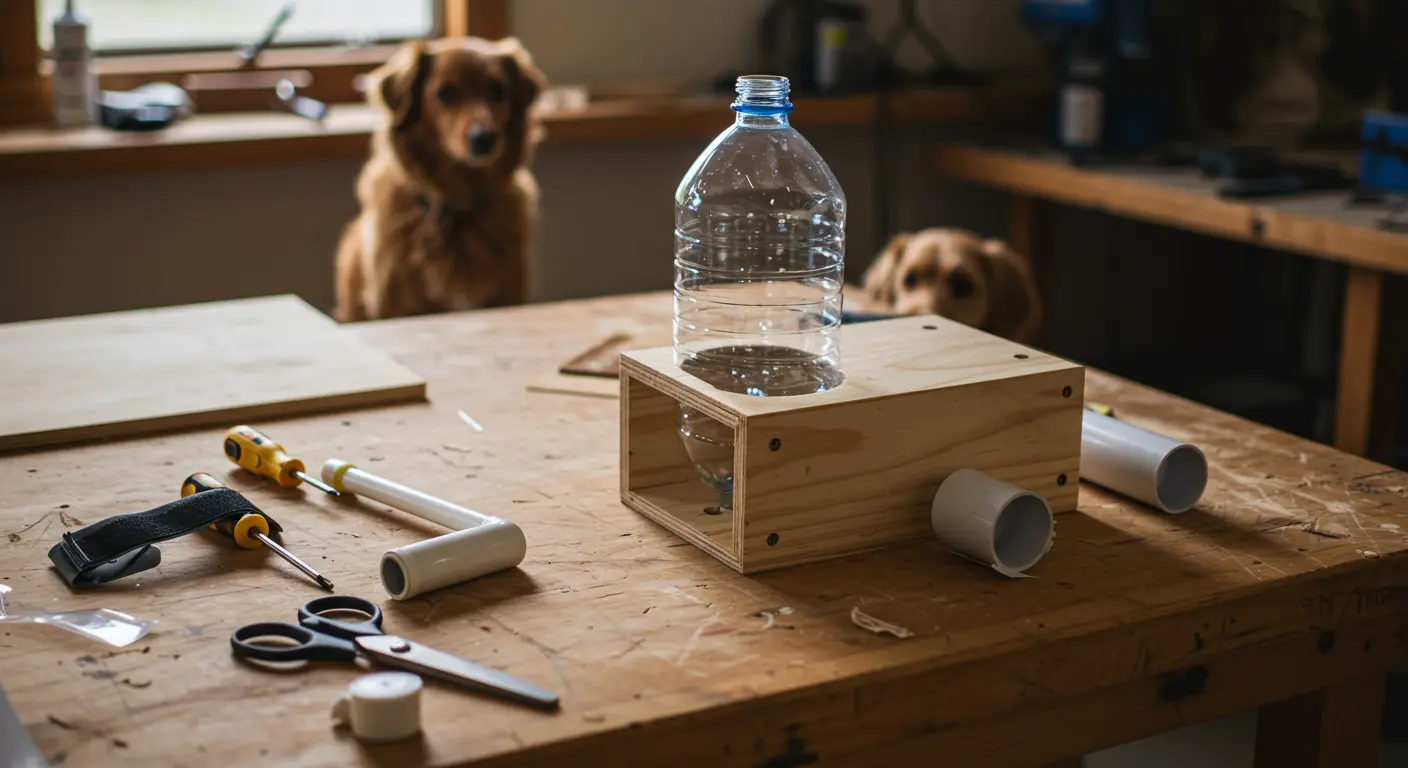
Crafting your own self-filling water bowl requires only basic materials and simple DIY skills. With just a few common household items—a two-liter bottle, sturdy wood for stability, and Velcro for component security—you can create an effective water system for your thirsty companion.
Materials Needed for Your DIY Project
To build your self-filling water bowl, you will need the following items, many of which you may already have at home:
-
A stable base material (wood board, plastic tray, or similar flat, sturdy surface)
-
A two-liter plastic bottle (clean and with cap)
-
Your dog’s existing water bowl or a new bowl
-
Velcro strips with adhesive backing
-
PVC coupler (optional, for a more secure connection)
-
Scissors or utility knife
-
Measuring tape
-
Waterproof marker
-
Silicone sealant (optional, for preventing leaks)
-
Sandpaper (if using wood for the base)
Your base and water bottle dimensions should align proportionally to your dog’s size and water consumption needs. Smaller dogs work well with one-liter bottles, while larger breeds—or households with multiple pets—need larger containers. What matters most is Ensuring solid stability that can withstand even the most enthusiastic drinking sessions.
Step-by-Step Instructions for Building the Bowl
This homemade system uses the basic principles of gravity and air pressure—mirroring commercial dispensers but for much less money. Before you start, thoroughly clean all water-contact components.
Step 1: Preparing the Base
Your self-filling water bowl’s foundation provides the stability and support your system needs. Begin by choosing your base material—wood works great because it’s heavy and stable. If using wood, sand any rough edges to prevent splinters and create a smooth surface. The base should be at least 2–3 inches larger than your dog’s water bowl on all sides to provide adequate support for the entire system.
Position your dog’s bowl on the base, then trace its outline with a waterproof marker. This blueprint guides precise placement for both bowl and reservoir components. If your base material is wood, you might want to create a slight depression or add a non-slip mat where the bowl will sit to prevent it from sliding around.
For extra stability—important if your dog drinks eagerly—consider weighting the base or crafting raised perimeter edges to contain water splashes. Some creative pet owners even personalize their bases with decorative flourishes or coordinating paint schemes, though any finishes must remain pet-safe and waterproof.
Step 2: Attaching the Water Reservoir
Your water reservoir is the key component of your self-filling system. Remove all labels from your clean two-liter bottle, fill it completely, and secure the cap temporarily. Turn the bottle upside down and position it over your dog’s bowl on the marked base. Getting the bottle mouth height right is important—position it precisely above your desired bowl water level.
After establishing the perfect position, mark the bottle’s attachment point on your base. You have two ways to secure the bottle:
-
Velcro Strips: This method allows for easy removal for refilling. Attach one side of the adhesive strip to the base and the other to the bottle, ensuring a strong bond.
-
PVC Coupler: For a more permanent connection, secure a coupler that fits the bottleneck to the base using screws or strong adhesive. The bottle can then be twisted into place.
Whatever method you choose, accurate bottle placement is essential for the system to work properly.
Step 3: Final Assembly and Testing
With your base prepared and reservoir attachment method selected, the moment for final assembly and testing arrives. Position your dog’s water bowl in its designated base location.
Before uncapping, double-check that every component aligns perfectly. Once confident in your setup, fill the bowl to bottle-mouth level, then quickly remove the cap and invert the bottle into position.
Watch as your system finds its balance. Water should cascade from the bottle until reaching mouth level, then stop. Test your creation by removing bowl water—the bottle should respond by releasing additional water until equilibrium returns. If water continuously flows or doesn’t flow when needed, adjust the bottle height accordingly. Once adjusted, your DIY system maintains consistent water levels automatically. Let your pet try it out while supervising to ensure they adapt to the new system and that it remains stable during use.
Maintenance Tips for Your Self Filling Water Bowl
Regular maintenance keeps your DIY self-filling water bowl working well and staying clean. Establish a weekly cleaning ritual: completely disassemble the system and thoroughly cleanse both bowl and reservoir using mild soap and warm water. Pay special attention to the bottle’s mouth area where algae or biofilm can develop.
Daily water quality inspections are essential—replace immediately if cloudiness or debris appears. Even good self-filling systems can develop stagnation, dust accumulation, or wayward pet hair. The reservoir bottle should be completely emptied and refilled with fresh water every 2–3 days, depending on your home environment and water quality.
Check all parts regularly for wear and deterioration. Velcro strips will eventually lose their stickiness over time, and need to be replaced. If you’re using a PVC coupler, check for cracks or leaks. The base material should be examined for water damage, especially if it’s made of wood. Apply a waterproof sealant if necessary to extend its lifespan.
Winter months need some temperature consideration. Very cold water might be uncomfortable for some pets—consider relocating your system to warmer home zones. In summer, you have the opposite option: ice cubes create refreshing coolness, but make sure ice doesn’t block the bottle opening.
Conclusion: Enjoying Your DIY Self Filling Dog Water Bowl
Your newly crafted DIY self-filling water bowl provides an affordable improvement to both your daily routine and your dog’s hydration habits.
More than just convenience: consistent access to fresh water is essential for your pet’s health. It supports critical kidney function, enables proper temperature regulation, and facilitates optimal digestion.
As you and your companion embrace this home addition, watch how it works and make improvements as needed. You might want a larger base to catch splashes, or maybe an expanded reservoir for those extended away-from-home adventures. The best part about this DIY project is how easily you can modify it as your needs change.