Understanding 2T and 4T Welding Modes
When it comes to welding, the control method you choose can significantly affect your comfort, precision, and overall welding experience. Two fundamental trigger modes in modern welding equipment are 2T and 4T—each determining how you interact with your torch and command the arc during the welding process.
In 2T mode (two-touch), you press and hold the trigger to spark and sustain the welding arc. Release it, and the arc dies instantly. This straightforward approach gives you immediate control with predictable results. It’s particularly well-suited for quick applications, household projects, and beginners working with materials like mild steel.
4T mode (four-touch) changes the approach completely, offering a greater freedom while welding. Press and release once to ignite the arc—then it burns steadily without your finger glued to the trigger. Ready to stop? Another quick press-and-release extinguishes it. This trigger sequence allows for longer, uninterrupted welds without the hand fatigue that can come from continuously holding down a trigger.
Both modes serve distinct purposes in TIG (Tungsten Inert Gas) and MIG (Metal Inert Gas) welding processes. The choice between them hinges on weld length, task complexity, and—perhaps most importantly—the welder’s personal preference and physical comfort.
2T Mode – Quick and Straightforward
This mode works best for short, precise applications like tack welding—those small, strategic welds that hold components exactly where you want them. The instant response provides precise accuracy in both timing and placement.
However, 2T’s main limitation emerges during extended welding sessions. Maintaining constant trigger pressure can lead to hand fatigue and, consequently, compromised weld quality as your grip weakens.
4T Mode – Enhanced Control for Complex Tasks
The 4T mode offers major ergonomic advantages, particularly valuable for professionals tackling lengthy or intricate projects.
This mode works exceptionally well for precision tasks like intricate joints or challenging positions. Freedom from constant trigger pressure helps maintain optimal torch angles, making 4T the go-to choice for extensive structural welds, pipe welding, and any task demanding unwavering quality across significant distances.
When to Use 2T vs 4T Welding Modes
| Feature | 2T Mode | 4T Mode |
|—|—|—|
| Operation | Press and hold to weld; release to stop. | Press/release to start; press/release to stop. |
| Best For | Short welds, tacking, and quick repairs. | Long, continuous welds and complex joints. |
| Primary Benefit | Simplicity and immediate start/stop control. | Reduced hand fatigue and enhanced focus. |
| Ideal Scenarios | Beginners, thin materials, frequent starts/stops. | Professional/structural work, awkward positions. |
Comfort is also important. Professionals dealing with hand or finger limitations often use alternative solutions—torch-mounted slider controls, for instance—to manage heat input while circumventing physical strain.
Ultimately, skilled welders master both modes, seamlessly switching between them to optimize comfort and control for each unique challenge they encounter.
Comparing 2T and 4T in TIG Welding
In TIG welding, the distinction between 2T and 4T modes becomes particularly important—this process demands extraordinary precision and control. TIG welders juggle multiple variables simultaneously: torch position, filler rod application, heat input, and arc control. The trigger mode you choose directly affects your weld quality.
One major benefit of 4T in TIG welding is better weld cycle control with less physical strain. This freedom lets welders concentrate fully on torch angle, filler rod application, and arc length—the three essentials for high-quality TIG welds.
2T in TIG Welding – Applications and Techniques
In TIG applications, 2T proves ideal for tack welding—its immediate start-stop capability becomes essential when positioning components with exact precision. It also excels with thin materials, where instant arc termination helps prevent warping or serious burn-through.
Common 2T candidates include mild steel, stainless steel, and aluminum—particularly in thinner gauges where quick heat control is essential. It also works well for detailed work: automotive components, jewelry, or any application demanding precise, short welds instead of long continuous welds.
4T in TIG Welding – Advantages and Use Cases
-
Amperage Bracketing: Enables welders to ‘bracket’ their ideal amperage—a method preferred by those who favor torch switches over foot pedals.
-
Out-of-Position Welding: Works especially well for overhead or vertical work where foot pedals become impractical, allowing welders to concentrate on torch control.
-
Pipe Welding: Professionals frequently choose 4T for root and fill passes, where steady heat input and stable arcs are needed to meet code standards.
-
Dynamic Heat Management: As base metal temperatures climb, experienced welders use 4T to adapt amperage requirements dynamically, ensuring consistent penetration throughout the weld.
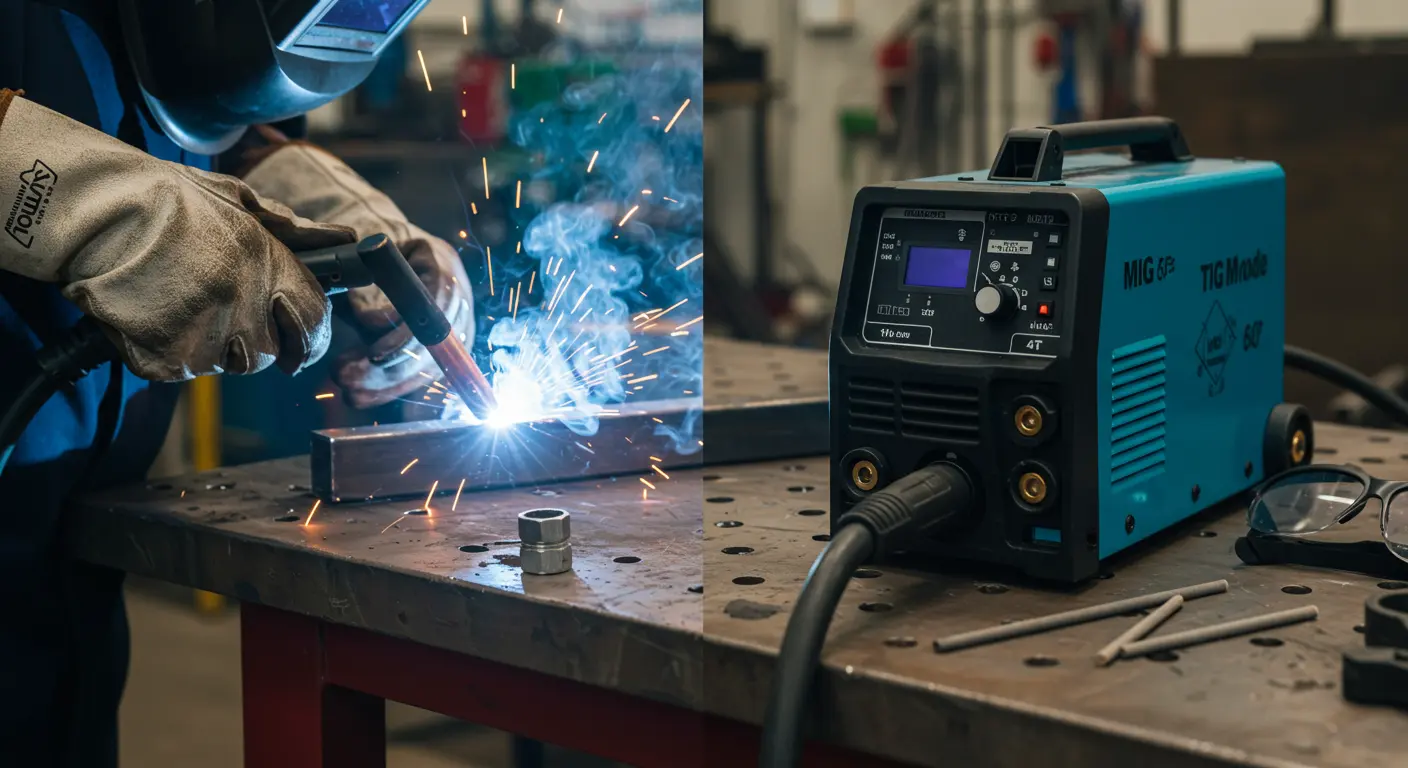
Comparing 2T and 4T in MIG Welding
In MIG welding, choosing between 2T and 4T primarily revolves around operator comfort and weld duration—amperage control doesn’t enter the equation. Unlike its TIG counterpart, MIG welding maintains consistent wire feed speed and voltage regardless of your trigger mode preference.
MIG’s 4T implementation is much simpler—it’s purely about trigger operation, without the additional parameter control complexities found in TIG welding.
2T in MIG Welding – Quick Welds
-
Tack Welding: Swift, efficient component tacking before final assembly—essential for fast-paced production environments.
-
Short Production Welds: Rapid transitions between numerous small welds across multiple components, maximizing productivity without sacrificing quality.
-
Repair Work: Executing short, surgical welds to restore damaged components while protecting surrounding material from excessive heat exposure.
4T in MIG Welding – Control for Extended Runs
-
Long Structural Welds: Producing continuous seams on beams and columns with superior bead consistency, thanks to enhanced ergonomics.
-
Large Fabrications: Working on large vessels, tanks, or heavy equipment where long welding sessions would cause severe hand fatigue.
-
Hard-to-Reach Areas: Navigating awkward or confined spaces where hand positioning becomes challenging—here, freedom from trigger pressure becomes essential rather than just helpful.
-
Repetitive Production Welds: Maintaining high productivity and consistent quality during long shifts by dramatically reducing physical strain on the operator.